Introduction
What the Guide is About
This guide will take you through the skills you need to use the Horizon Integrated Library System.
The guide provides illustrated examples of core tasks, such as checking items in and out, and registering new borrowers. Most explanations include a Video Guide, and links to all the video guides can be found in the Other Guidance Section.
 |
The guide also provides links to other useful resources, such as the printable Quick Guides for common tasks, and to useful forms and guidance found in the Staff Portal.
How it’s Organized
The guide is divided into sections and each section covers a set of related tasks, such as the different ways to search for items or how to add and edit items.
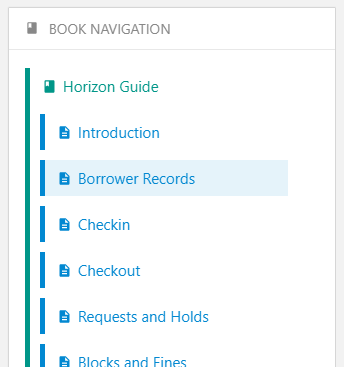
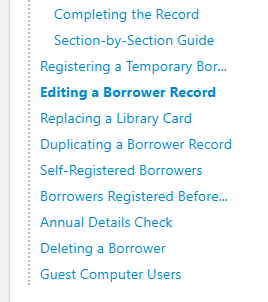
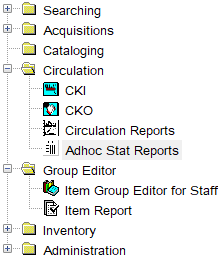
The sections are listed in the navigation bar on the left side of the screen, and to go a section just click on it.
Each section contains several subsections that describe a skill or task in more detail.
When you have selected a section, its subsections will appear in the side navigation bar.
You can read through an entire section simply by scrolling down the screen, but if you want to jump straight to a subsection then just click on it in the navigation bar.
All the guidance is reachable from the side navigation bar with just two clicks:
| Select a section... | ...then... | ...select a subsection |
 |
 |
 |
If you are a new user, you can read through the guide in the order it’s written and use it as a training reference.
If instead you are looking for quick guidance on a particular subject, then the modular sections let you go straight to what you need.
Links appear throughout the sections to help you jump quickly to related topics or further guidance:
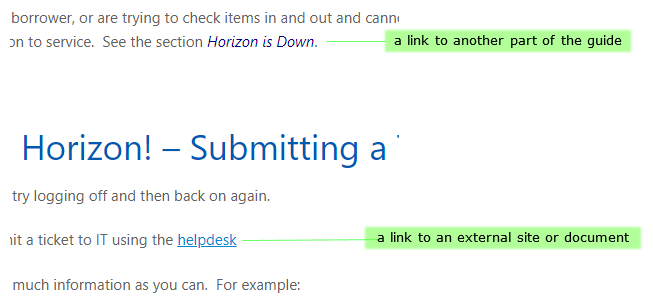 |
There’s a Troubleshooting section at the end of the guide which explains how to handle general problems with Horizon, including what to do if it stops working.
If after using the guide you still need help, contact your local Horizon superuser or your divisional office. During evenings and weekends, contact staff at another library in your division.
Let's begin with opening Horizon and a tour of its interface.
Opening and Closing Horizon
Logging into Horizon
Double-click on the Horizon icon ![]() on your desktop. The login window will open:
on your desktop. The login window will open:
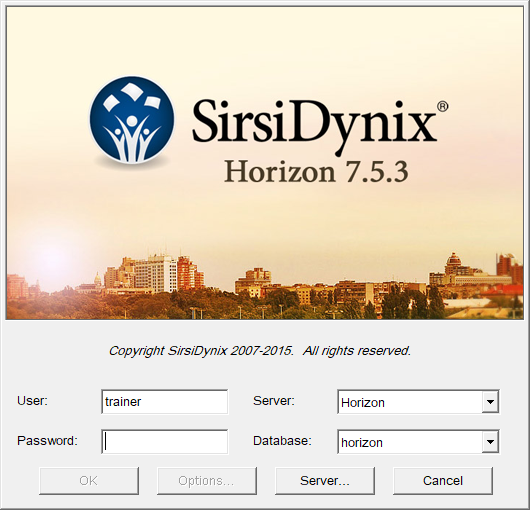
The username should already be completed. Contact your supervisor or regional office if it isn’t showing, or if you don’t know your site’s password.
Type in the password and then press [Enter] on your keyboard or click on OK.
Horizon will launch.
Logging Off
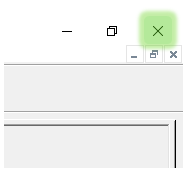
To close Horizon at the end of the day, just click on the X in the top right corner of the screen:
Changing the Default Font Size
Depending on your personal viewing preferences and the size of your screen, you might want or need to change the default size of text in Horizon. This is done from the login window:
-
-
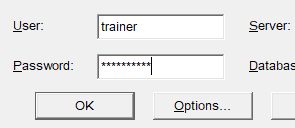
- type in the password
- click on Options:
-
The Login Options window will open:
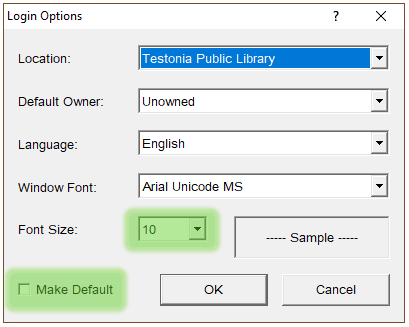
From here you can change the font size. Select Make Default and Horizon will remember this preference.
Understanding the Interface
After you have logged in, Horizon opens the Launcher window:
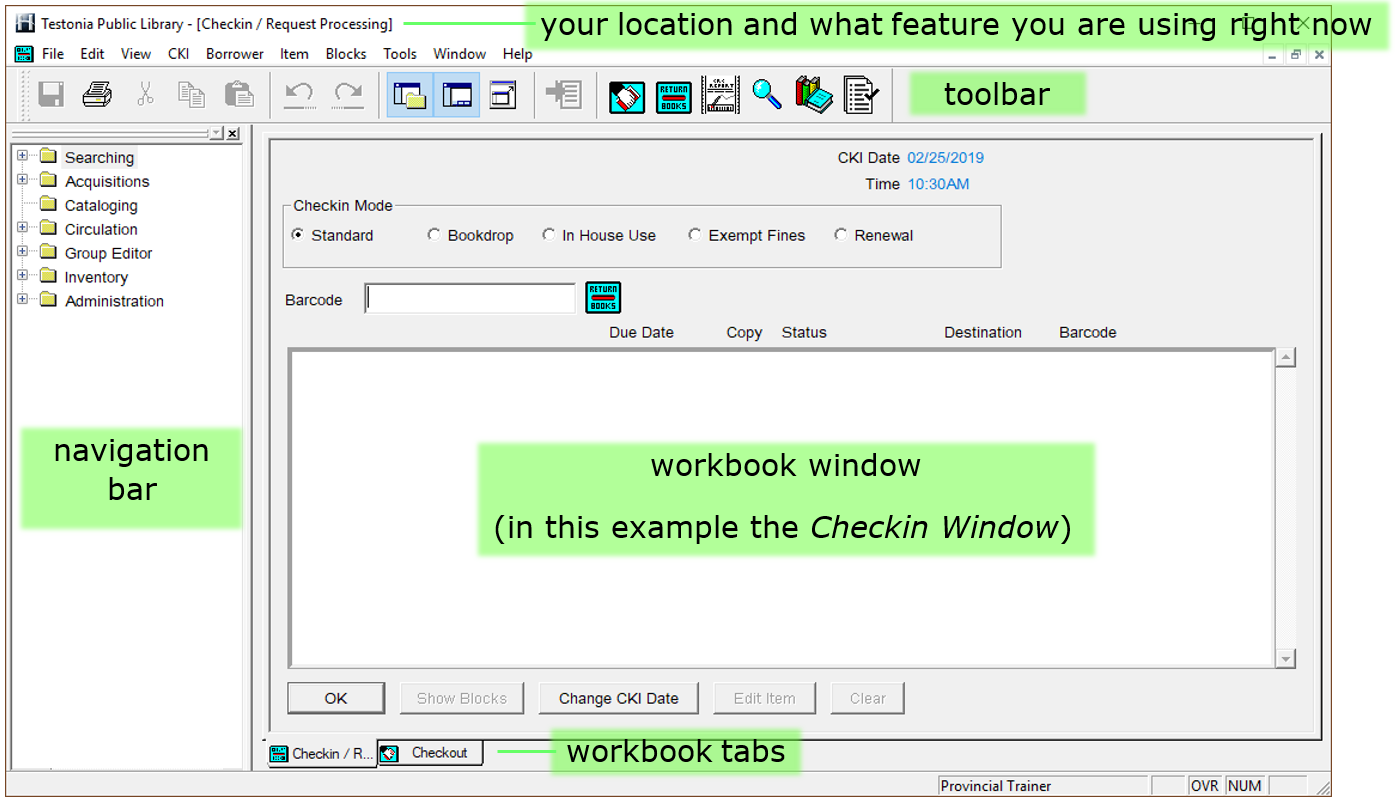
Click on the image to view it full size in a new tab. When finished, close the tab to return to this guide.
The window is split into several areas, with a main work area surrounded by a toolbar and navigation bar that help you to do tasks easily.
Workbook Window
This is where most work takes place. For example, if you are checking in items then they will be listed here. If you are editing a borrower’s record then their details will be shown here.
You can open different windows to do different tasks. A tab will appear at the bottom for each window currently open:
![]()
The workbook tabs let you switch between open windows to get different tasks done.
During a typical working day you will regularly switch between the Checkin and Checkout windows to check books in and out, and often open the Search window to find items for borrowers.
Toolbar
The toolbar lets you quickly reach the most commonly used functions.

| Toggle Navigation Bar | hides or shows the navigation bar | CKI | opens the Checkin window | |||
| Toggle Workbook | hides or shows the workbook tabs | Circulation Reports | opens Circulation Reports in a separate window | |||
| Toggle Full Screen | makes the workbook window full screen, closing or shrinking other elements. | Item Search | begins a new Item Search | |||
| Send To |
sends a record to another process |
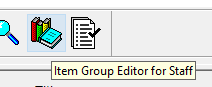
Item Group Editor |
opens the Item Group Editor process | |||
| CKO | opens the Checkout window | Item Report | opens the Item Report process |
You will see how to use all of these functions as you progress through the guide.
You won’t need to use the Navigation Bar much in day-to-day use because the most commonly used functions can also be reached from the toolbar or top menu.
Almost everything that you can do in Horizon can be reached from the top menu. So if you’re trying to do something and it’s not obvious which toolbar or navigation bar option to use, take a look in the top menu and see if you can find the answer here.

Some functions, such as recording an item as lost, can only be reached from here.
If there’s a shortcut key to a function then it will say so in the top menu. In this example the shortcut for Find Borrower is [F4] and the shortcut for New Borrower is [F5]:
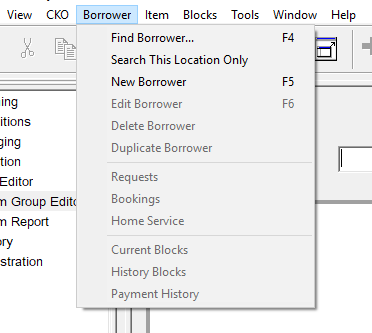
The contents of the top menu can vary depending which window you are currently using.
Shortcut Keys
Some frequently used functions can be accessed by using shortcut keys, which can speed things up for you.
For example, Item Search can be opened in 3 different ways using the interface:
| 1. click on the Search button: | |
| 2. select from top menu Item > Find Item: | 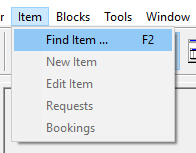 |
| 3. select from navigation bar Searching > Item Search: | 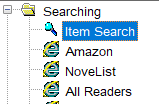 |
...but simply pressing [F2] on the keyboard is a lot quicker!
To help you to get used to the common shortcuts, print out this guide and keep it somewhere near your screen:
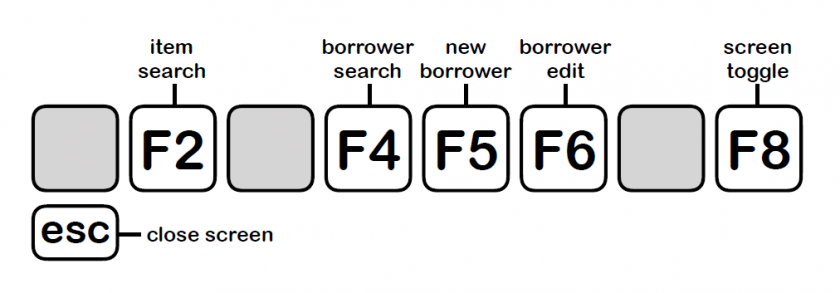
Here’s a list of circulation shortcuts:
| function | key | function | key | |
| item search | [F2] | make request | [F5] from item copies window | |
| find borrower | [F4] from checkout window | move forward to next field in record | [Tab] | |
| create new borrower | [F5] from checkout window | move back one field | [Shift] + [Tab] | |
| edit borrower record | [F6] from checkout window | save record | [Ctrl] +[S] | |
| close the current window | escape | copy |
[Ctrl] +[C] |
|
| toggle between checkout and checkin | [F8] | paste | [Ctrl] +[V] | |
| send to |
[F10] |
select all | [Ctrl] +[A] | |
| place request | [F5] from item copies window | cut | [Ctrl] +[X] | |
| view title requests list | [Ctrl] + [F5] from item copies window |
Short Codes
Horizon uses a lot of short codes to represent information, such as:
-
-
- abr as the location code for Bay Roberts Public Library
- tr as the item status code to show that an item is in transit between locations
-
This can save a lot of time when typing information into the system, but there are a lot of codes to remember, so wherever a short code is used:
-
-
- a longer description will appear next to it
- a nearby Codes button can be clicked on to bring up a list of valid codes
-

You will see lots of examples of short codes being used throughout the guidance.
To reach the next section about Borrower Records, click on this link, or scroll up and use the side navigation bar.